
Mother's Day Tutorial: How to Customize Floral Wrap
DIY Project: Hand Lettered Floral Wrap
You've been asking for more tutorials so here you go! I put together this tutorial on how to customize floral wrap as a super quick and easy way to personalize that bouquet for Mother's Day. I love this one because it's something you can pull off last minute yet it's really thoughtful. And if you have kids, they can easily do this one with you (or for you!). This is just one of many new DIY tutorials coming to the blog so check back often.
Here's what you'll need:
Large Sheet of Paper (I used Parchment Paper)
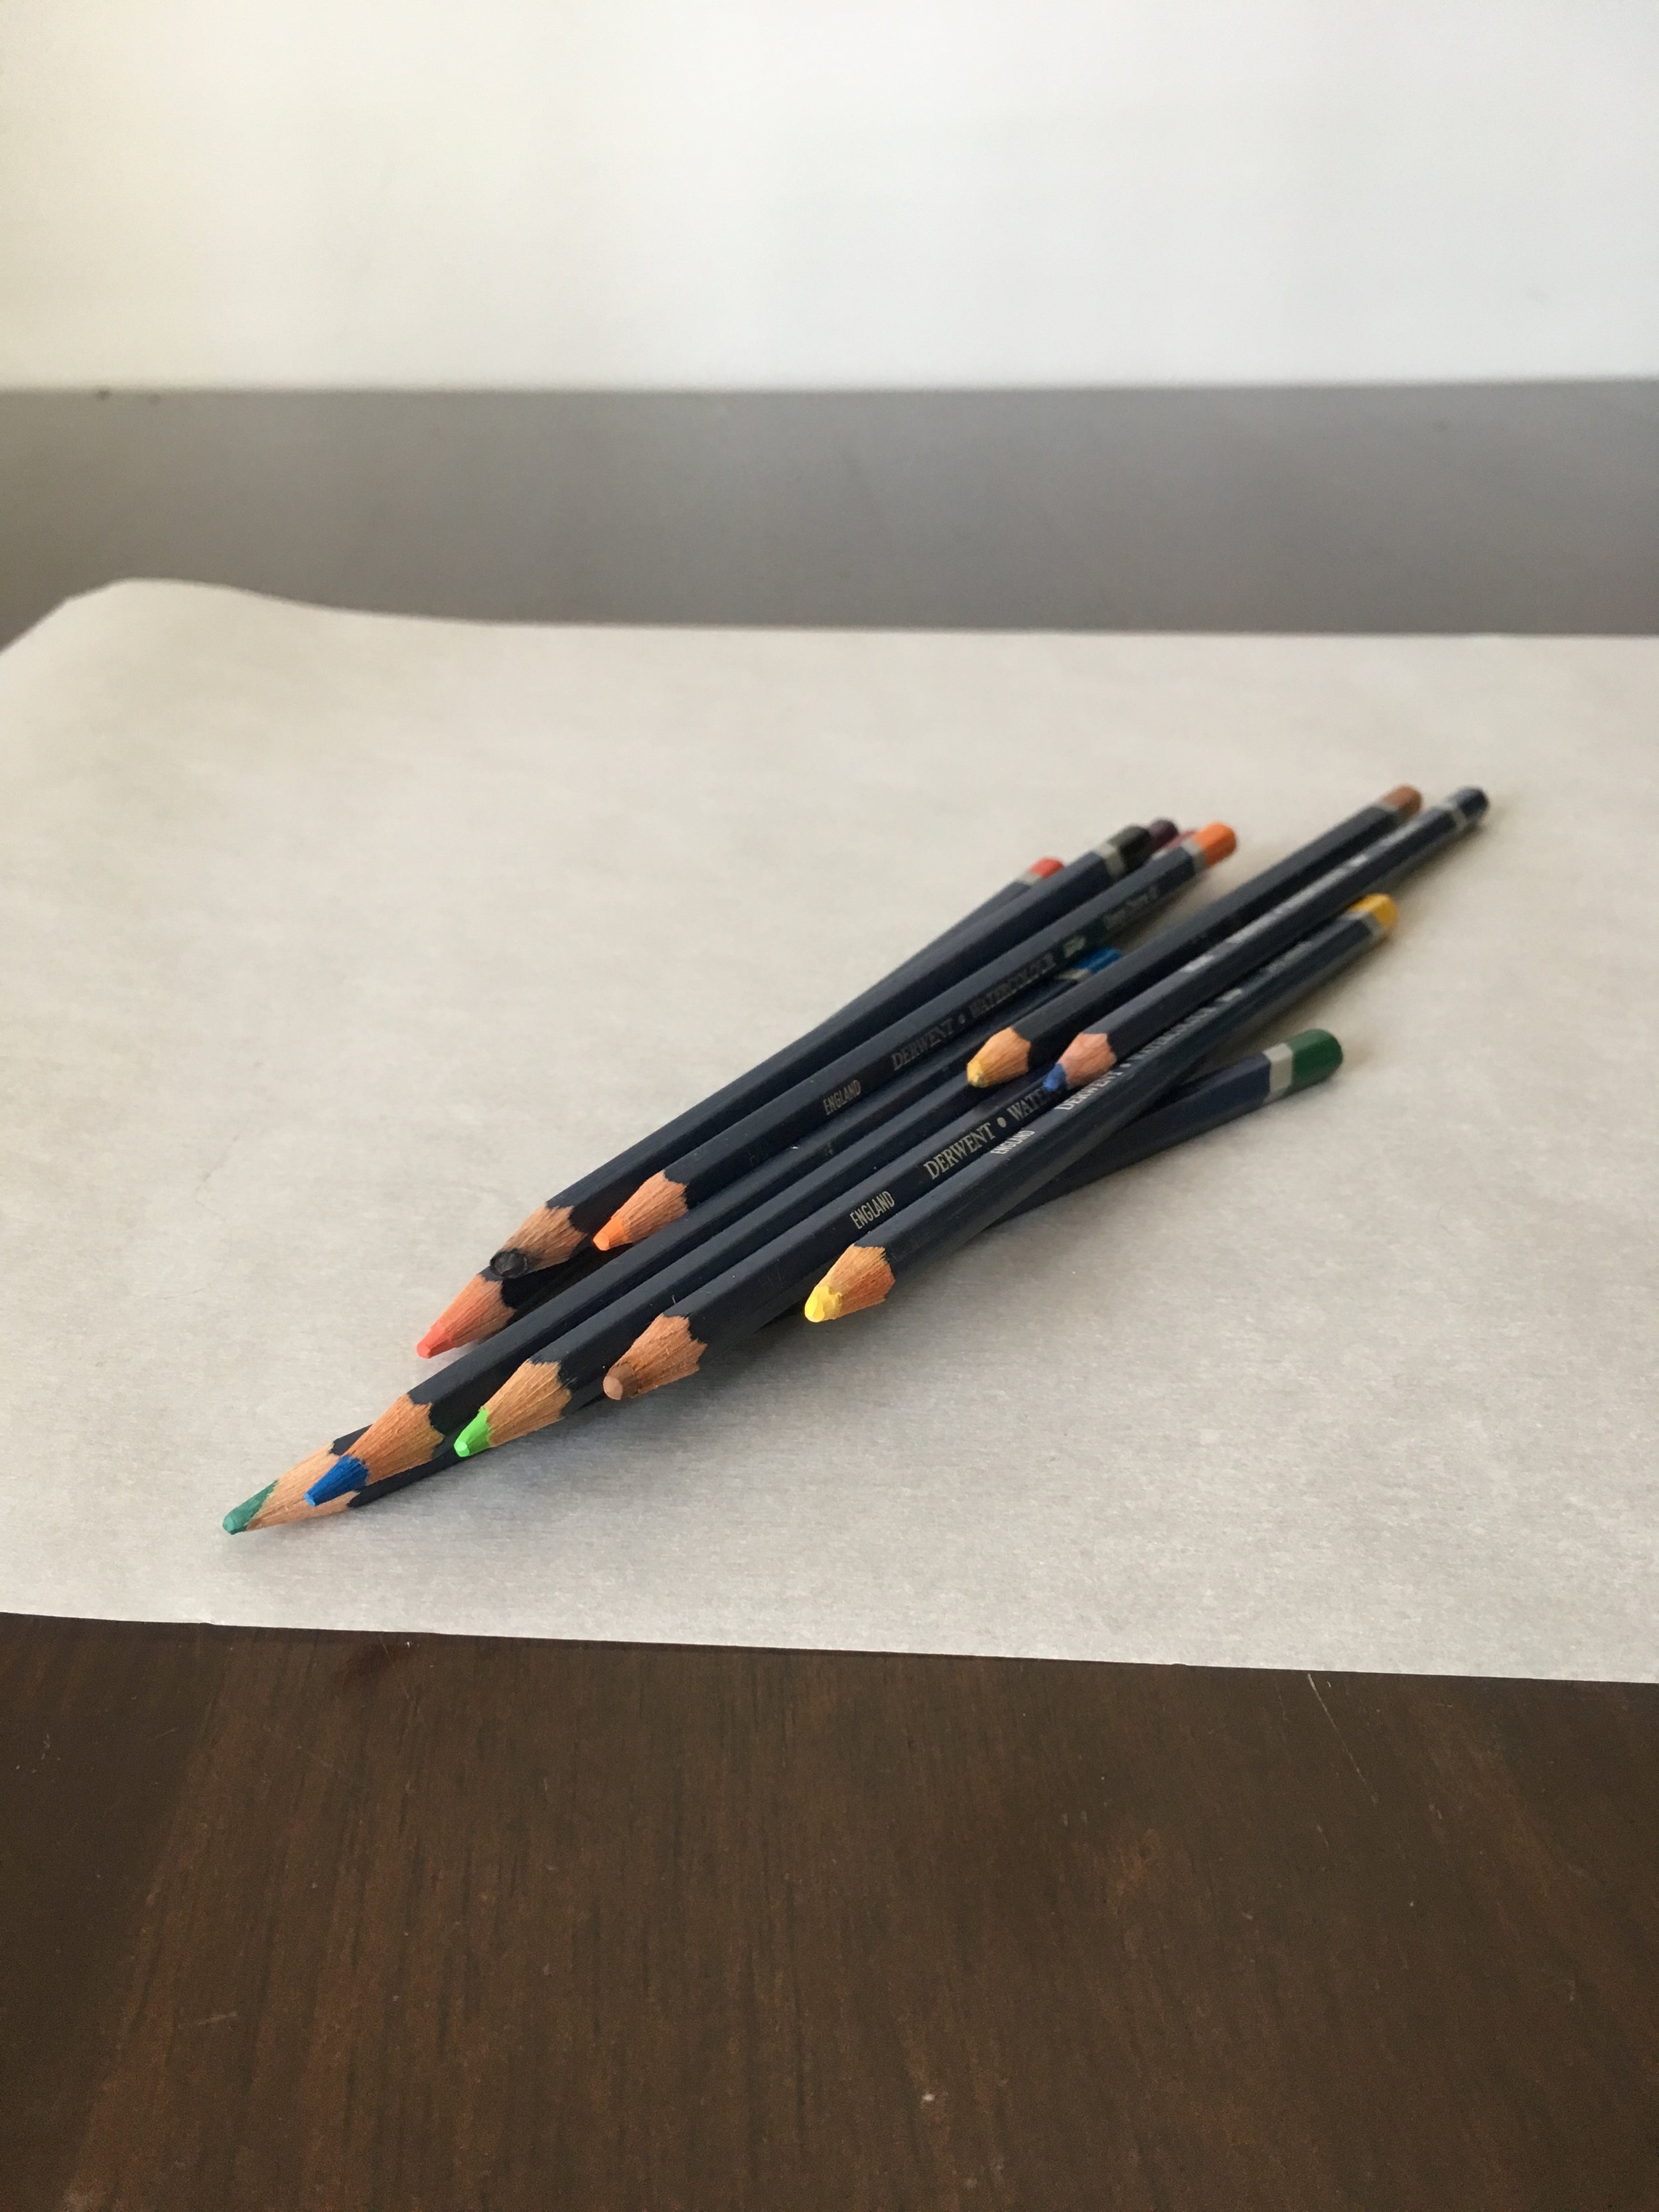
Colored Pencils (I used Derwent Watercolor Pencils)
Ribbon (I used our hand dyed silk ribbon)
Bouquet
Here's how:

Step 1.
Choose a large sheet of light colored paper. I used a piece of parchment paper. If you have a roll of solid white or kraft paper that would work, too.
PSSST! Love those floral hoops hanging on the wall? We thought so! That's why we're working on a new tutorial just for you so stay tuned...
Step 2.
Next grab some art supplies to decorate with. I chose Derwent Watercolor Pencils in Deep Cadmium and Deep Vermilion.

Step 3.
Before you get started, do a quick test to make sure your paper and material will work together. FYI- if you're using parchment paper, don't use markers...

Step 4.
Fill the sheet with your message. I repeated the words, "Happy Mother's Day! Best Mom Ever!" in deep cadmium until the page was full.

Step 5.
To make the lettering POP, I retraced the same words in a darker color, deep vermilion.

Step 6.
Personalize your message any way you like. Not sure what to write? Opt for a pattern or simply trace the handprints of her kids (or grandkids) all along the page.

Step 7.
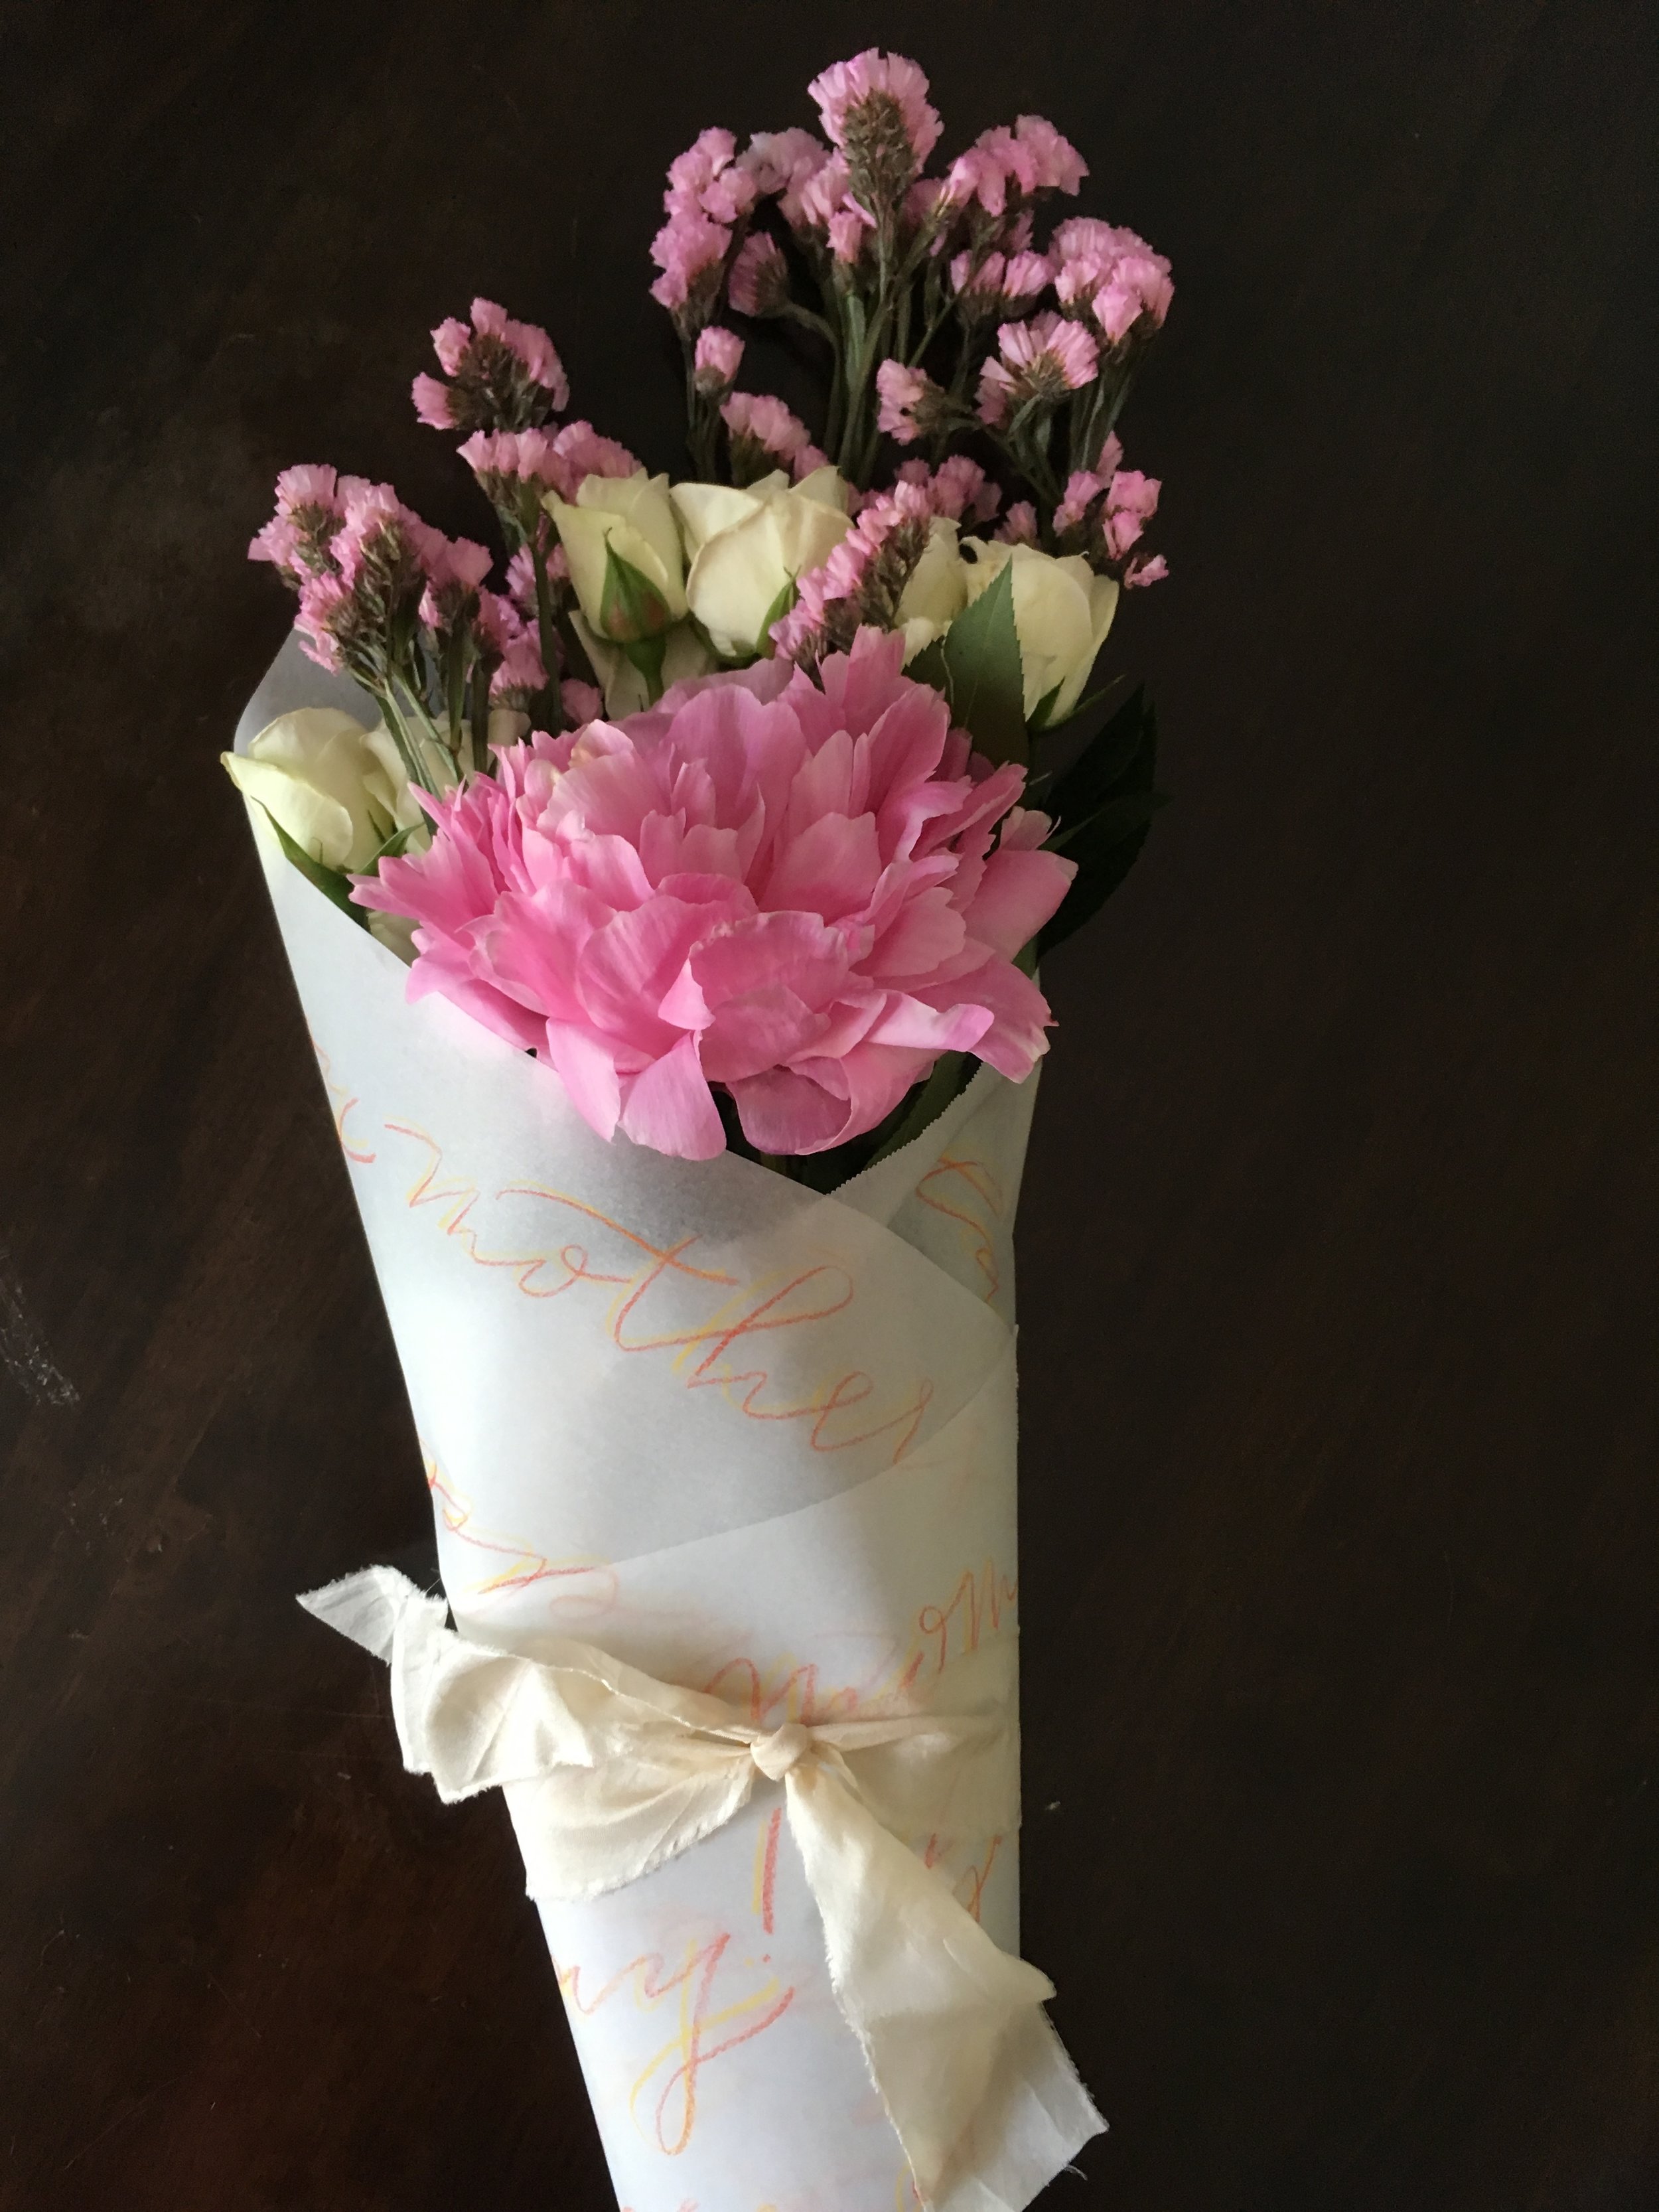
Select flowers that complement the colors you used for decorating the paper. Flip the floral paper design side down on your surface and place the flowers diagonally in the upper right corner.

Step 8.
Roll the floral paper around the bouquet. Start at the lower right corner and tuck it over the stems and continue rolling the bouquet until you've reached the other side of the paper.
Step 9.
Tie your ribbon around the middle of your bouquet. A bit of the lower left corner will hang over the bottom. Just fold it back and tuck it under itself for a beautifully finished bouquet.
Now you're ready to gift her with an extra thoughtful bouquet. This is one of the simplest ways to add a quick yet personalized detail to a flower arrangement to show your mom how much you care.
Happy Mother's Day!

PSST! Pin this image and save for later!