
How to write and paint on Agate

DIY Project: Agate Place Cards
Psst! Pin this NOW and save for later!
In this post, I am going to share with you my tips for writing on agate slices. There are so many things you can do with agates and there are a lot of options for how you go about embellishing them.
What are Agates?
Agates are gemstones that are primarily formed within volcanic rock and comprised mostly of quartz and moganite. They are semi-transparent and come in a variety of colors. I found these polished agate slices in vibrant hues that included yellow, blue, green, purple, pink, orange and natural white-ish/gray. Most of my set of agates are single color slices, but these stones can also be found with intricate patterns and color variation within a single stone.
I’m not a rock expert so I’ll stop there. If you’re anything like my rock-obsessed kiddos, and dying for more rock facts, you can learn more about agates here: Types & Geological Properties of the Agate Crystal by Geo Forward.
Ways to use Agates in your events and decor.
You may be wondering how you could use agates in your next craft or event. You might also be curious why you would want to write on agates in the first place. These little gemstones have become a popular trend for place cards at weddings and they double as favors. Win-win.
I’ve seen them used in crafts from wind chimes to dream catchers and even as planter decorations. They can even be purchased with pre-drilled holes to make your project easier. Last year I made a set of agate slice keychains as a gift and it didn’t disappoint!
I have had bridal clients and even a museum request agate slices at their event for place cards. Since so many of my readers are creatives and calligraphers, I figured it was time to create a blog post sharing my tips on how to write and paint on agates.
A Wild Styled Shoot
The agates pictured below were used for a ‘Wild Things’ styled photoshoot featuring leather jackets, motorcycles and crazy bright colors. It was so fun to create some of the details for that shoot. Scroll all the way to the bottom to see the agate place cards beautifully captured by Krissy Breece Photography. Let me know in the comments if you want to see more of the photos and what I created from that day.
Now, on to writing on agates…
Disclaimer: As an Amazon Associate I earn from qualifying purchases. This blog post contains affiliate links. I may earn a small commission to fund my calligraphy and caffeine habits if you use these links to make a purchase. You will not be charged extra, and you’ll keep me supplied in ink and caffeine. It’s a win for everyone, really.
Here's what you'll need:
ART MEDIUM:
Smooth Agate Slices:
assorted | natural | black | blue | pink | purple | green | yellow | orange/red

STEP 1 - Prepare your workspace by laying down a craft mat or a few layers of Kraft paper. This will prevent ink from staining your surface. Take it from someone who has spilled and splattered a lot of ink, it’s better to be safe than sorry.
STEP 2 - Gather your materials. For these agates, I prefer using Dr Ph Martin calligraphy ink with my Zebra Comic Z nib. If you do not have a calligraphy pen, you can use oil-based paint pens to write on the agates. You can also use acrylic paint to add swatches of color or other designs.
STEP 3 - Now that your workspace is prepped and you’ve chosen your supplies, flip the agate slices so the smoothest side is face up. Wipe the surface with alcohol and a clean cloth.
STEP 4 - Once your agates are clean and completely dry, create your design and allow to dry. The paint pens dried almost instantly, whereas the calligraphy ink took a few minutes to dry. If you make a mistake when using ink or acrylic paint, remove with soap and water. If you make a mistake with paint pens, you’ll need to use rubbing oil to remove it.
Keep scrolling for a handy infographic on how to clean off your agates based on what medium you used.

What about sealant?
Once your design is dry, you’re done!
I do not seal these agate slices with any kind of sealant. Could you seal them? If you really wanted to, yes, but I don’t recommend it.
Agate slices have a polished, glass-like finish. Spraying them with a sealant will give a foggy appearance, almost like frosted glass with a bit of texturing.
If you’re worried about the design lasting long enough to get to your event or client, wrap each slice in tissue paper before packing them up. Avoid handling the agate where the writing is and your design will last even longer.

Name placement tip
Write on the smallest slices first with the shortest names/words.
This way you don’t end up getting stuck with long names on a small slice.
Whereas it’s a non issue to write a short name on a large slice. This also allows all words to be the same font size which will help keep the overall look of your pieces cohesive.
When making place cards using any materials, I always like to write out the longest name on a scrap paper to test the font size and measure it against the place cards.
If it doesn’t fit, use a smaller font for all the place cards, including short names.

Acrylic Paint
My go-to brands for acrylic paints are FolkArt and Americana for most projects. I tested both of these on the agate slices as well as this metallic copper Martha Stewart paint I had on hand.
Both the Martha Stewart paint and the FolkArt paint was easy to remove, just needing soap and water to clean the wet and the dry paint.
The wet Americana paint came off easily with soap and water, but once dry this paint was a bit harder to remove and required Windex. All of the acrylic paint came off of the agate slices. As a general rule, the longer the paint has been left dried on the surface, the longer it will take to remove.
Aesthetically, I didn’t love the look of the paint on the rock slices, but you might have an even better design idea for using paints on agate, which is why I still included it in this post. I’m sure whatever you create will be gorgeous!

Ink
I prefer to use ink when writing names on agates because I can write much smaller and with crisper lines than I can with markers.
For these agate slices, I used a variety of the Dr Ph Martin calligraphy inks with a Zebra Comic G nib. Agates have smooth surfaces so most nibs should work just fine.
The inks I tested were Bleed Proof White, Black Star Hicarb and Iridescent. Their iridescent inks have a really nice lustrous appearance which looks striking on the agates.
I’m using the copper plate gold ink in the pictures and it’s one of my favorites.
You can even use a paintbrush to add extra metallic touches to your gemstones.
All of the inks wrote smoothly and came off with just soap and water while still wet. Dry ink came off with Windex and for the black ink, a little extra scrubbing.
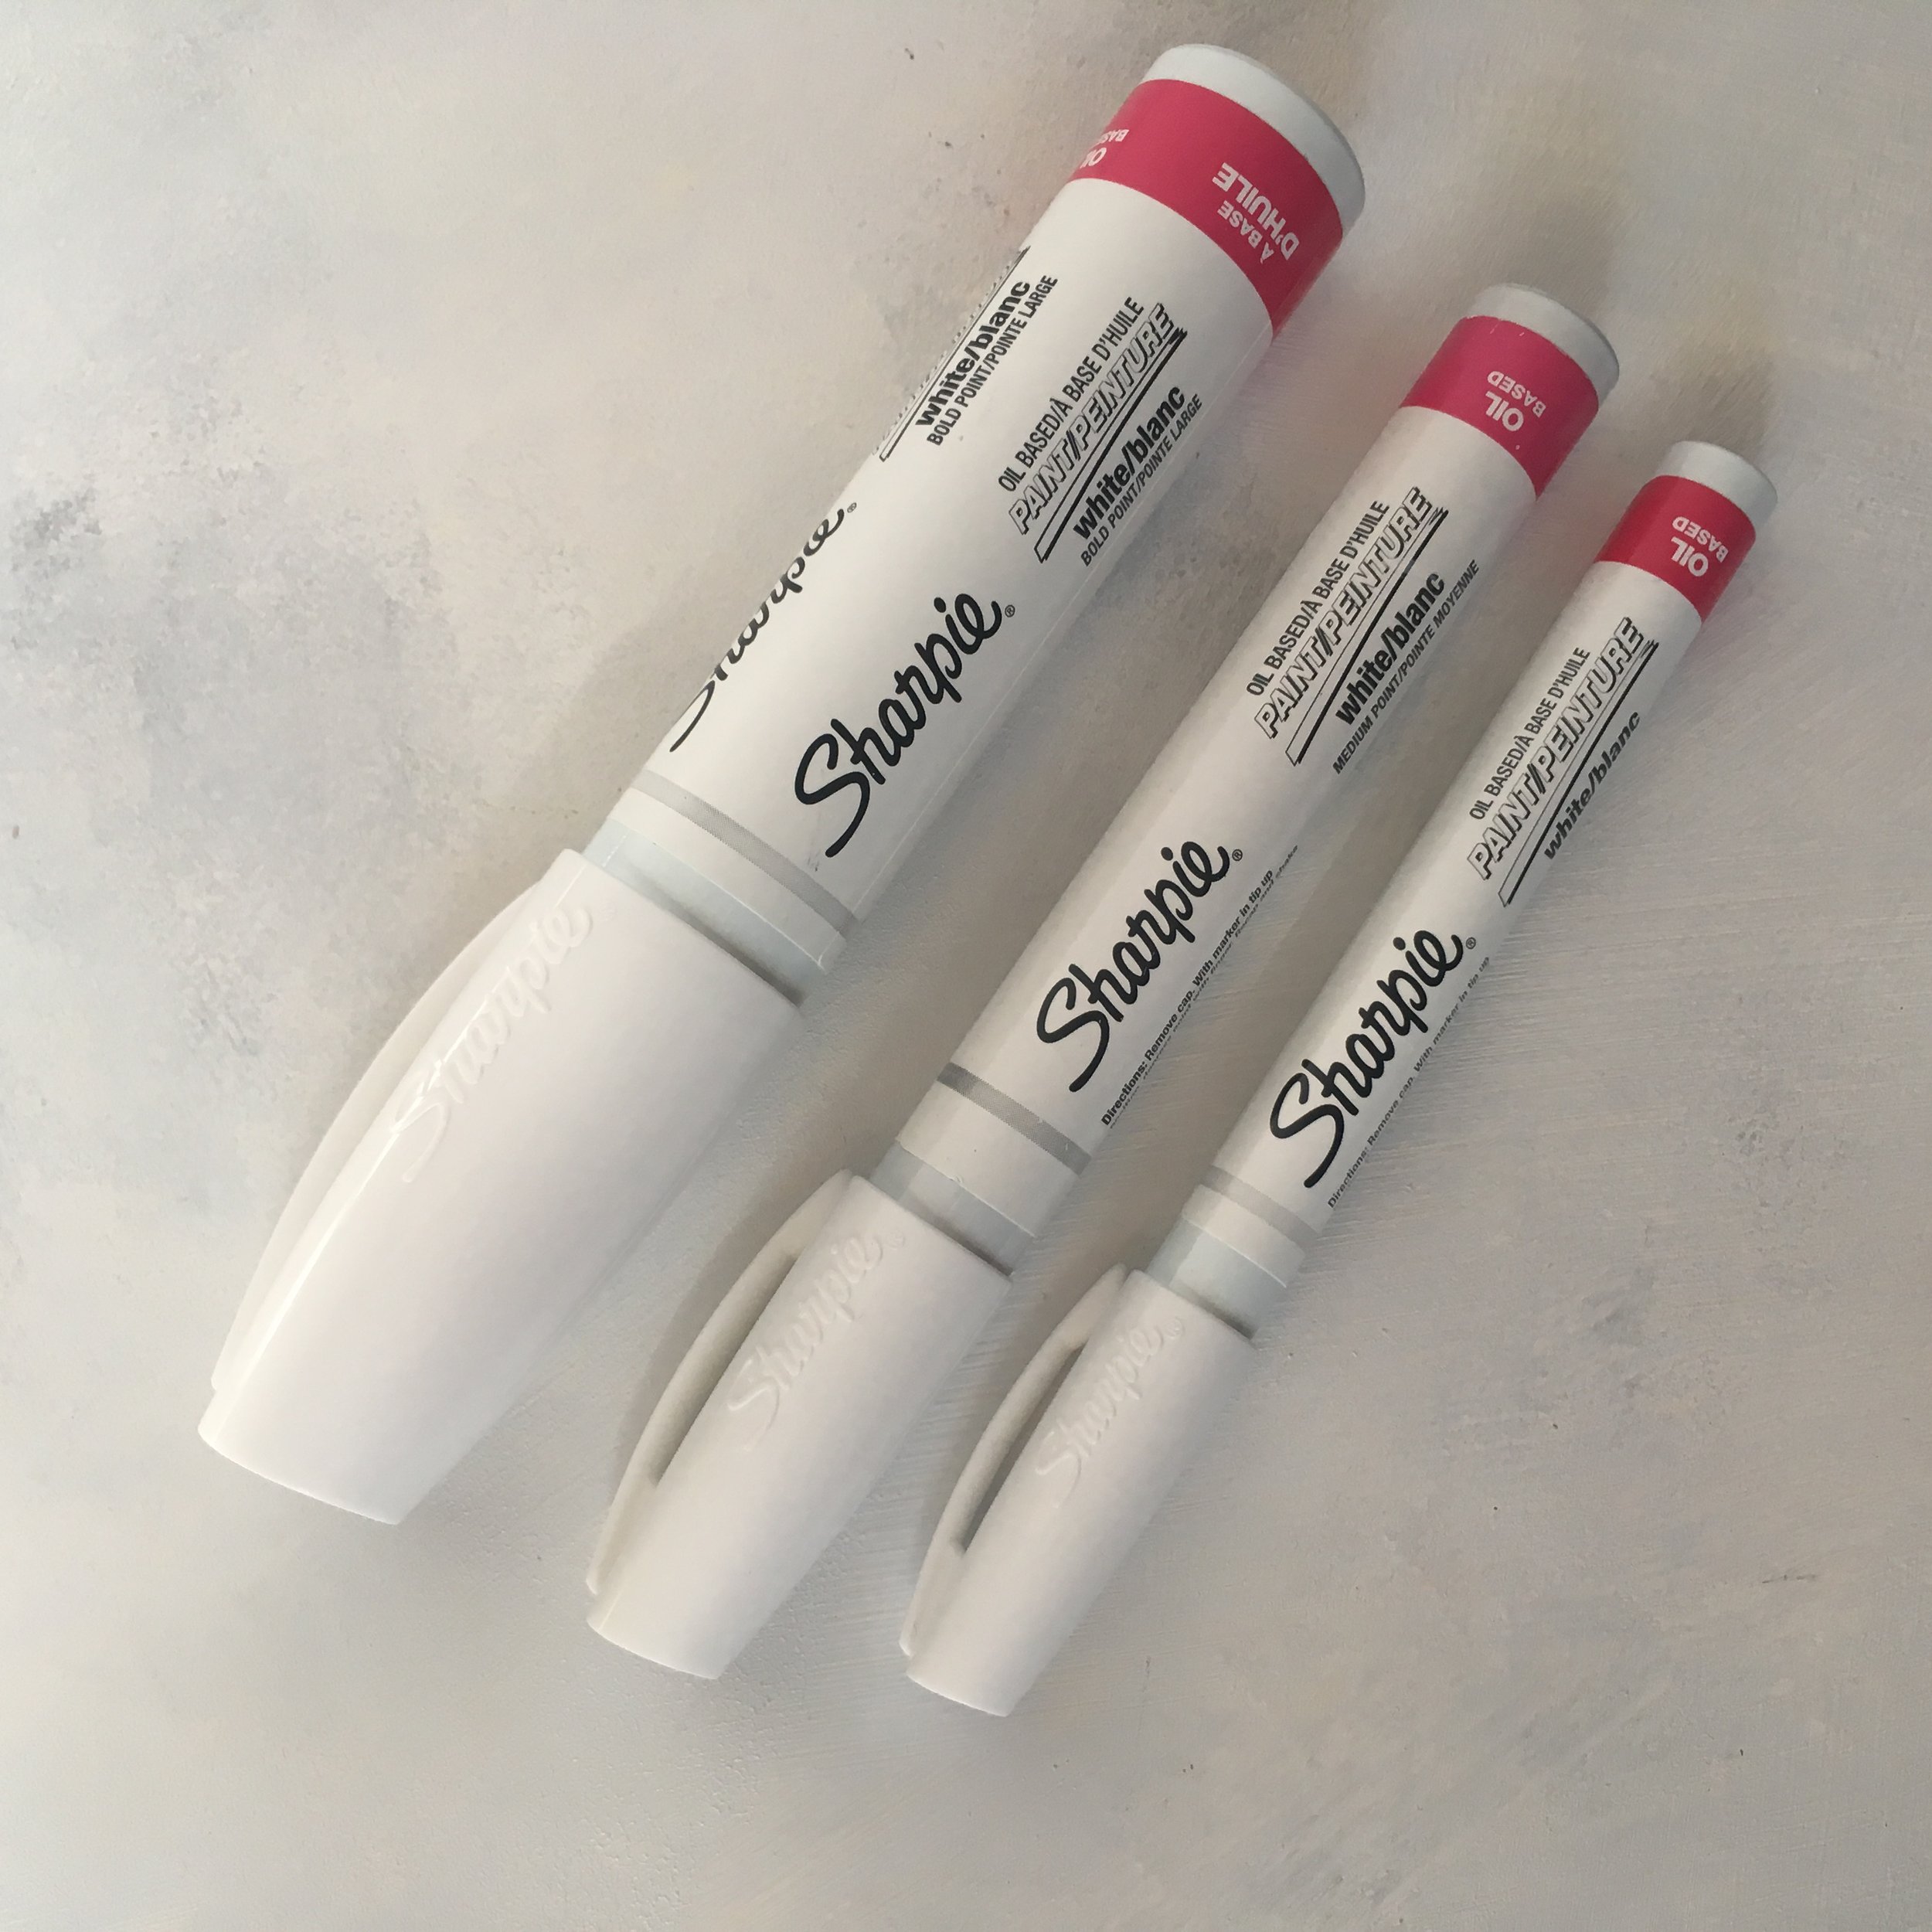
Paint Pens
Use oil-based paint pens for a more durable design. These paint pens were HARD to remove! I tried white, metallic gold and black. The black was the toughest colored paint pen to clean and even so, still left behind a few marks.
If you make a mistake, remove with rubbing alcohol as quickly as possible. The longer it sits the harder it will be to remove.
For simplicity, I put together this infographic to help you quickly figure out what mediums and corresponding cleaning supplies work on agates.
Thank you for taking to stop by my blog and I cannot wait to see what you make with agates!
If you made this project, I would LOVE to know how it turned out! You can leave a note in the comments or tag pictures on Instagram with @RaleighCalligraphy. And as always, feel free to Pin away! (Psst! Are you a blogger? Check out our FAQs here before reposting on your blog.)

Psst! Pin this NOW and save for later!
And the Final Result…

These agate slices were used for a ‘Wild Things’ themed styled shoot. These stunning photos were taken by Krissy Breece Photography.


