
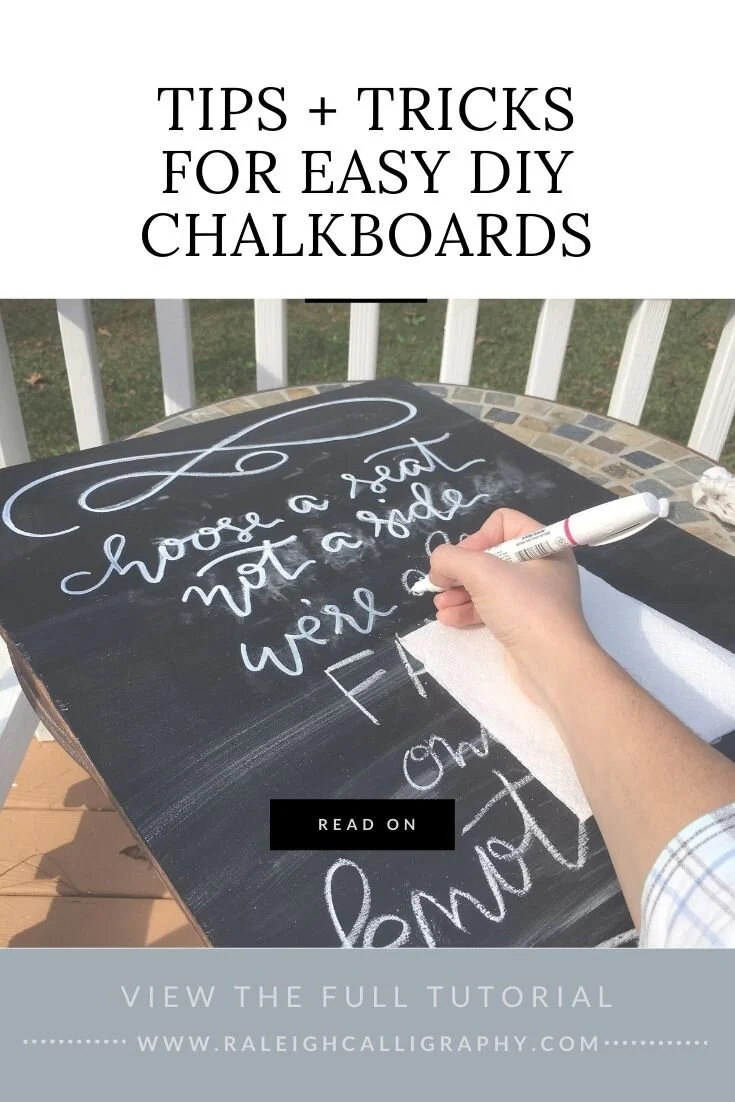
How to Make a DIY Chalkboard on Any Surface
PSST! Pin this now to save for later!
DIY Project: How to Turn ANY Surface into a Chalkboard
As a wedding calligrapher, I make a LOT of chalkboards for events. They’re always fun to make and guests love them. Chalkboards are especially great as event signage because they’re reusable. Erase the design, hang in the home or office and use again and again. I love when wedding items can be reused beyond the couple’s big day. And when that wedding memento can be incorporated into your everyday decor, well that’s even better!
Ready to learn how to make your own chalkboards and create chalkboard surfaces on everyday objects? Let’s get started!
Disclaimer: As an Amazon Associate I earn from qualifying purchases. This blog post contains affiliate links. I may earn a small commission to fund my calligraphy and caffeine habits if you use these links to make a purchase. You will not be charged extra, and you’ll keep me supplied in ink and caffeine. It’s a win for everyone, really.
Here's what you'll need:
Chalkboard Paint and Sponge Brush
OR Chalkboard Spray Paint (read on to determine which is right for your project)
Chalk or Chalk Markers (I use Bistro white chalk markers most of the time)
Smooth Surface (I use birch wood boards from the local home improvement store and cut down to 9x12” and 12”18” boards)
Newsprint and paper towels
Stand for Event Display (Optional)
Sawtooth Hook for Wall Display (Optional)
Here’s how:

Photo: Kelsey Nelson Photography

Step by Step
HOW TO MAKE A CHALKBOARD
1.) Select a smooth surface to turn into your chalkboard. It can be an old mirror, a piece of wood, a thrifted picture frame. You can also head to your local craft store for unpainted signs and shapes that are just begging to be turned into chalkboards. Your as long as your surface is smooth, it doesn’t have to be flat! Turn jars, vases and other 3D objects into chalkboards! TIP if your surface is NOT flat, its easier to work with a chalkboard spray paint rather than the paint pail.
2.) Prep your surface by making sure it is clean and dry. Most surfaces can be cleaned with mild soap and water. Glass surfaces should be wiped clean using rubbing alcohol and a clean dry cloth. If you are using wood, sand it smooth and wipe with a damp cloth to remove any remaining dust.
3.) Coat your surface with chalkboard paint according the the instructions on the back. If you are using this one, you’ll need to apply two coats. Simply apply first in one direction (top to bottom) wait an hour and apply a second coat in the other direction (side to side). If you are using a wood surface, your paint strokes should be with the grain of the wood for the first coat and against for the second. I like to use a sponge brush when making chalkboards as I find they create a smoother end product than the streaky look created with the paint brush.
4.) Allow the chalkboard to cure for 24 hours.
5.) Condition the finished chalkboard with a light coating of chalk. This will help prevent streaks on your first use. Take a stick of sidewalk chalk and rub the side of it along the board, coating the entire surface. Wipe off excess chalk.
6.) You’re ready to design your very own chalkboard! Keep reading for tips on designing and cleaning your chalkboards, as well as ideas for chalkboard uses around the home.
You might want to grab a stand here if you will be using the chalkboard for an event. When you’re ready to hang the chalkboard in it’s permanent home, you’ll want to grab a saw tooth hook to nail on the back.
Above photo by Kelsey Nelson Photography

Build YOUR Brand.
Step by Step.
A printable blueprint designed to help you map out your brand decisions with intention and clarity. Designed with bloggers, creatives and thoughtful brands in mind.
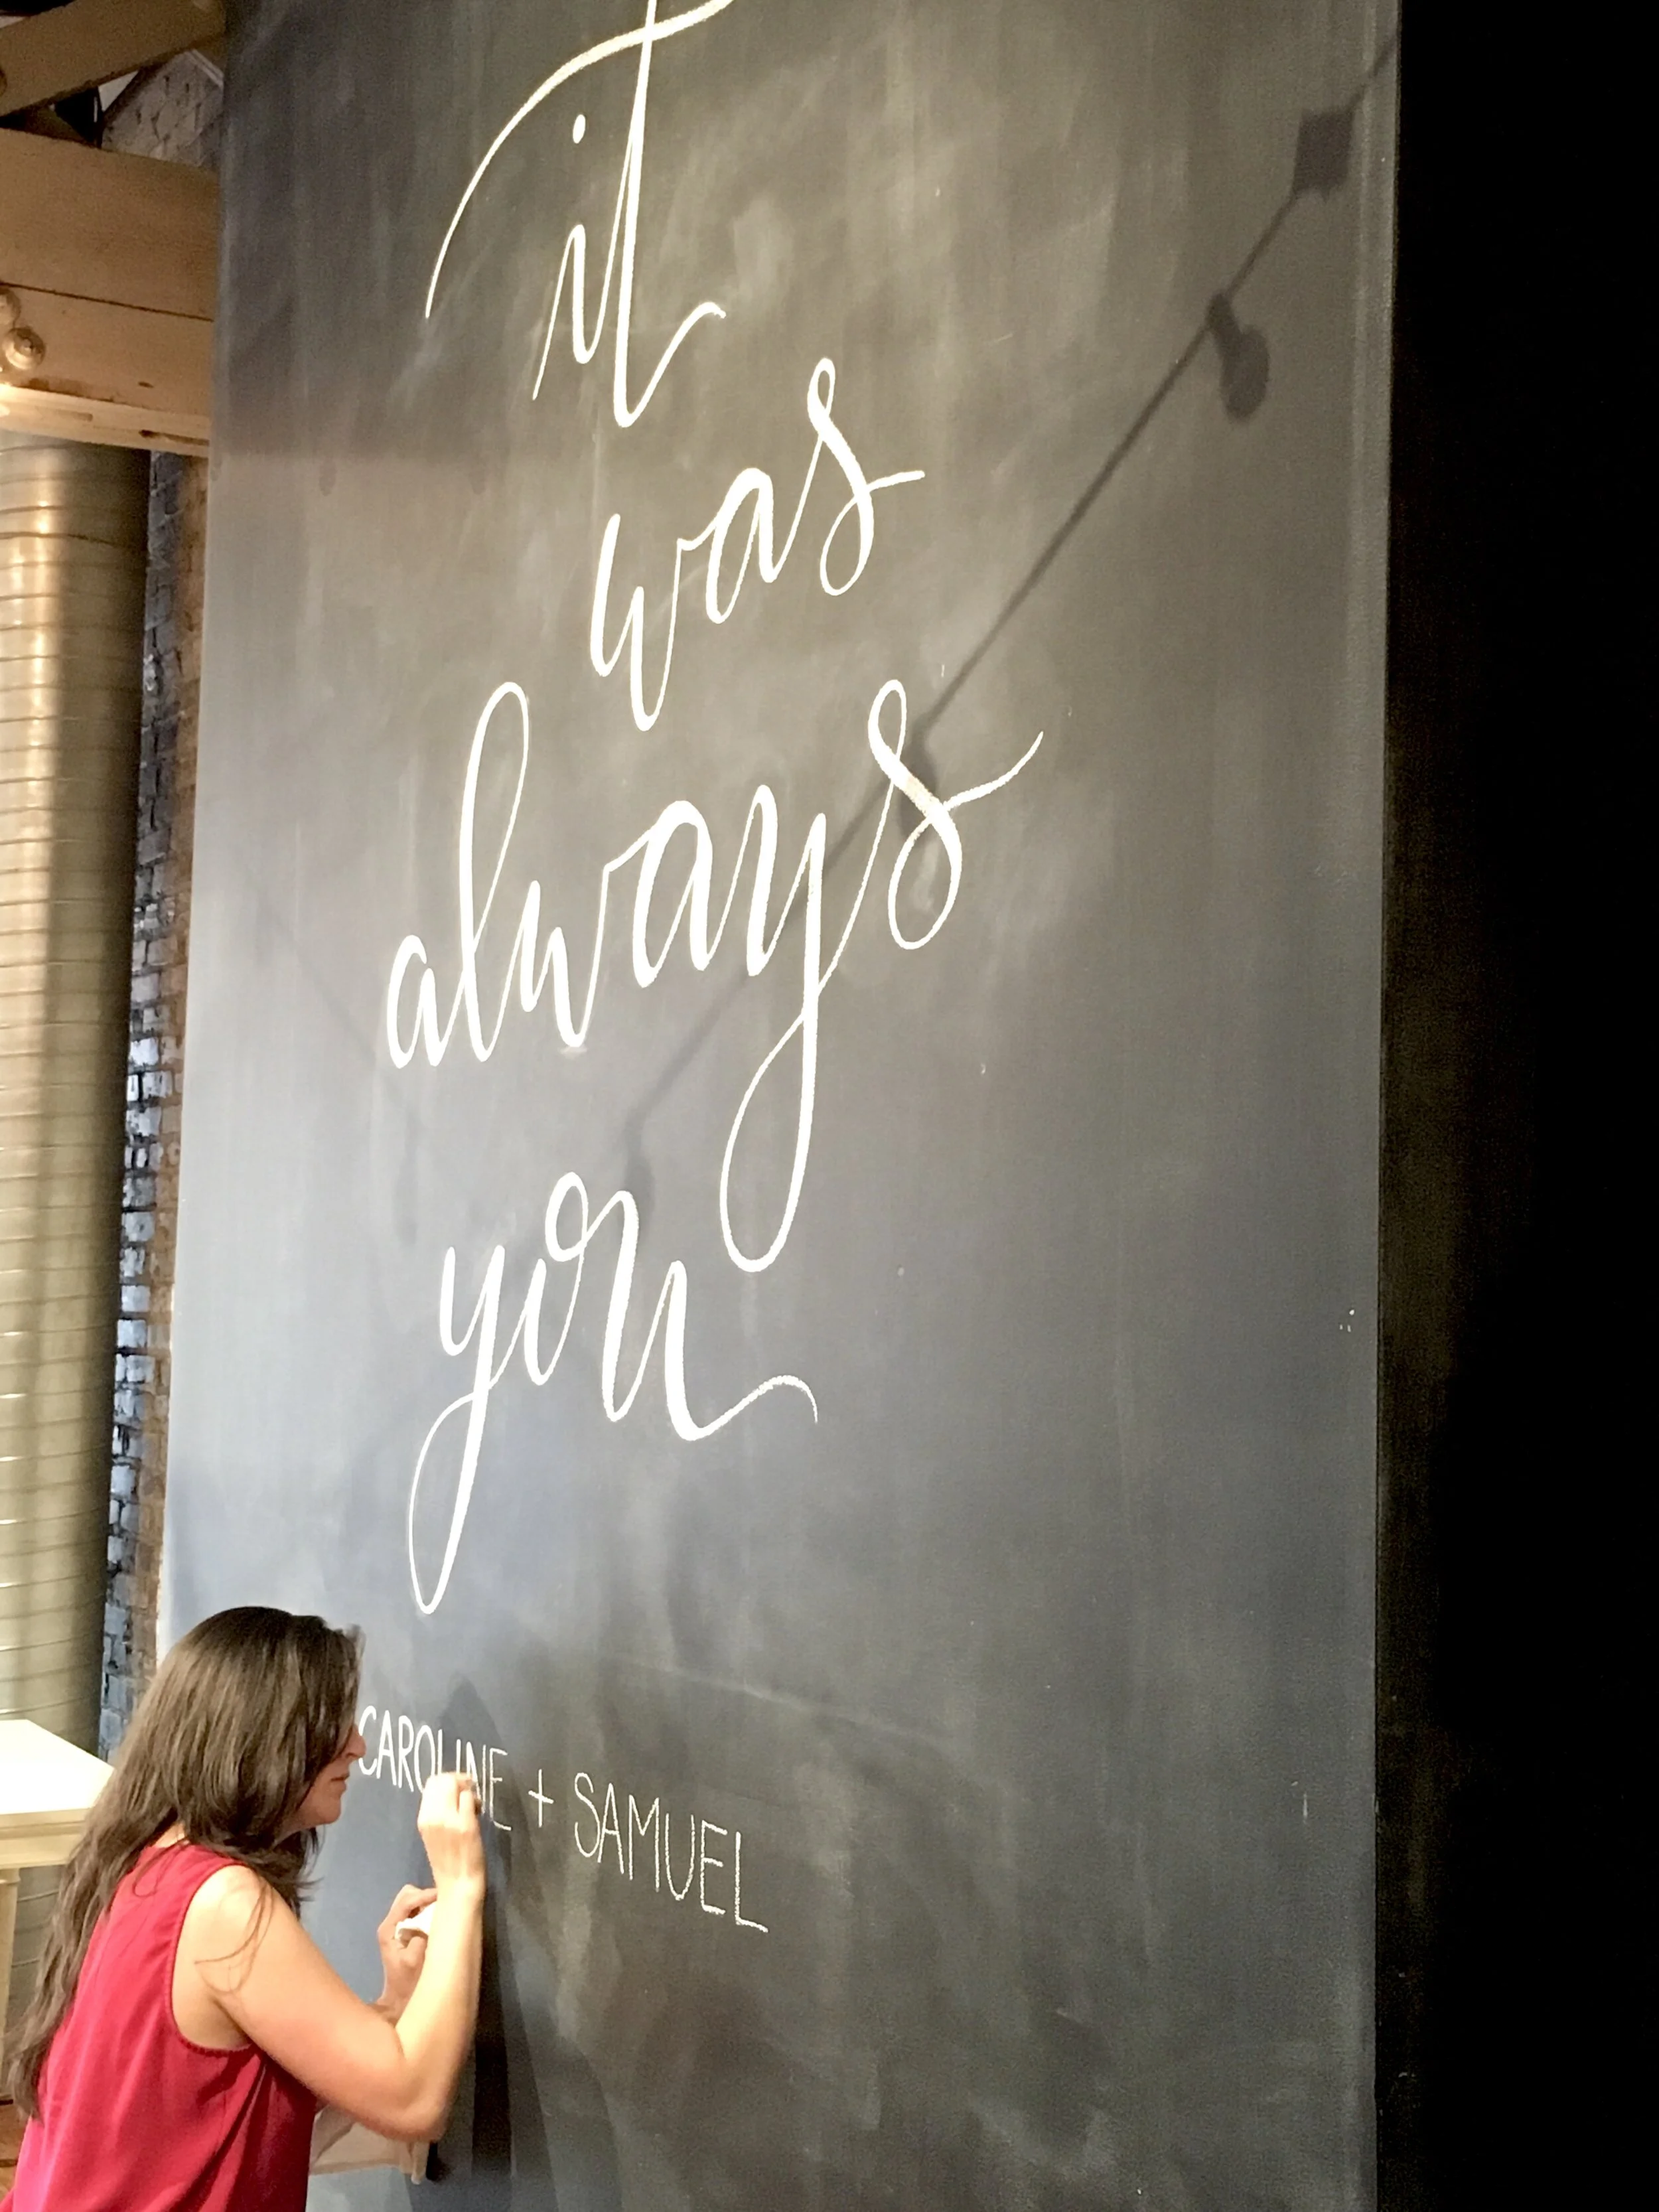
DIY Chalkboard Wall
HOW TO TURN AN INTERIOR WALL INTO A CHALKBOARD
I love writing on walls like this giant chalkboard surface at a venue in Raleigh, NC. My 7 year old is big into outer space and wanted to paint his room black. I said no, BUT we did say OKAY to painting an accent wall with chalkboard paint. We pulled off the lego strips which despite being made for the wall, caused some damage to the existing paint. We sanded the damaged spots smooth and wiped the walls clean. If you’re painting a wall, make sure to clean the wall and sand any rough spots with an extra fine grit sandpaper (like this one which is made for interior walls).
I used painter’s tape to tape off a 10x10 section of the wall (rub firmly along the paint edges so you end up with nice clean paint lines). I applied 2 coats of paint with a roller brush. I waited a day in between applications only because it took so long to do. After the final coat is on, allow to cure 24 hours and then condition with sidewalk chalk.
Once the wall was finished, we added these glow in the dark stars to the wall. So its an outer space/art wall and the kids love it. We keep a pail of chalk and an eraser on the dresser. This wall gets constantly and I’m so glad we went for it!
Design Tips
DESIGNING YOUR CHALKBOARD
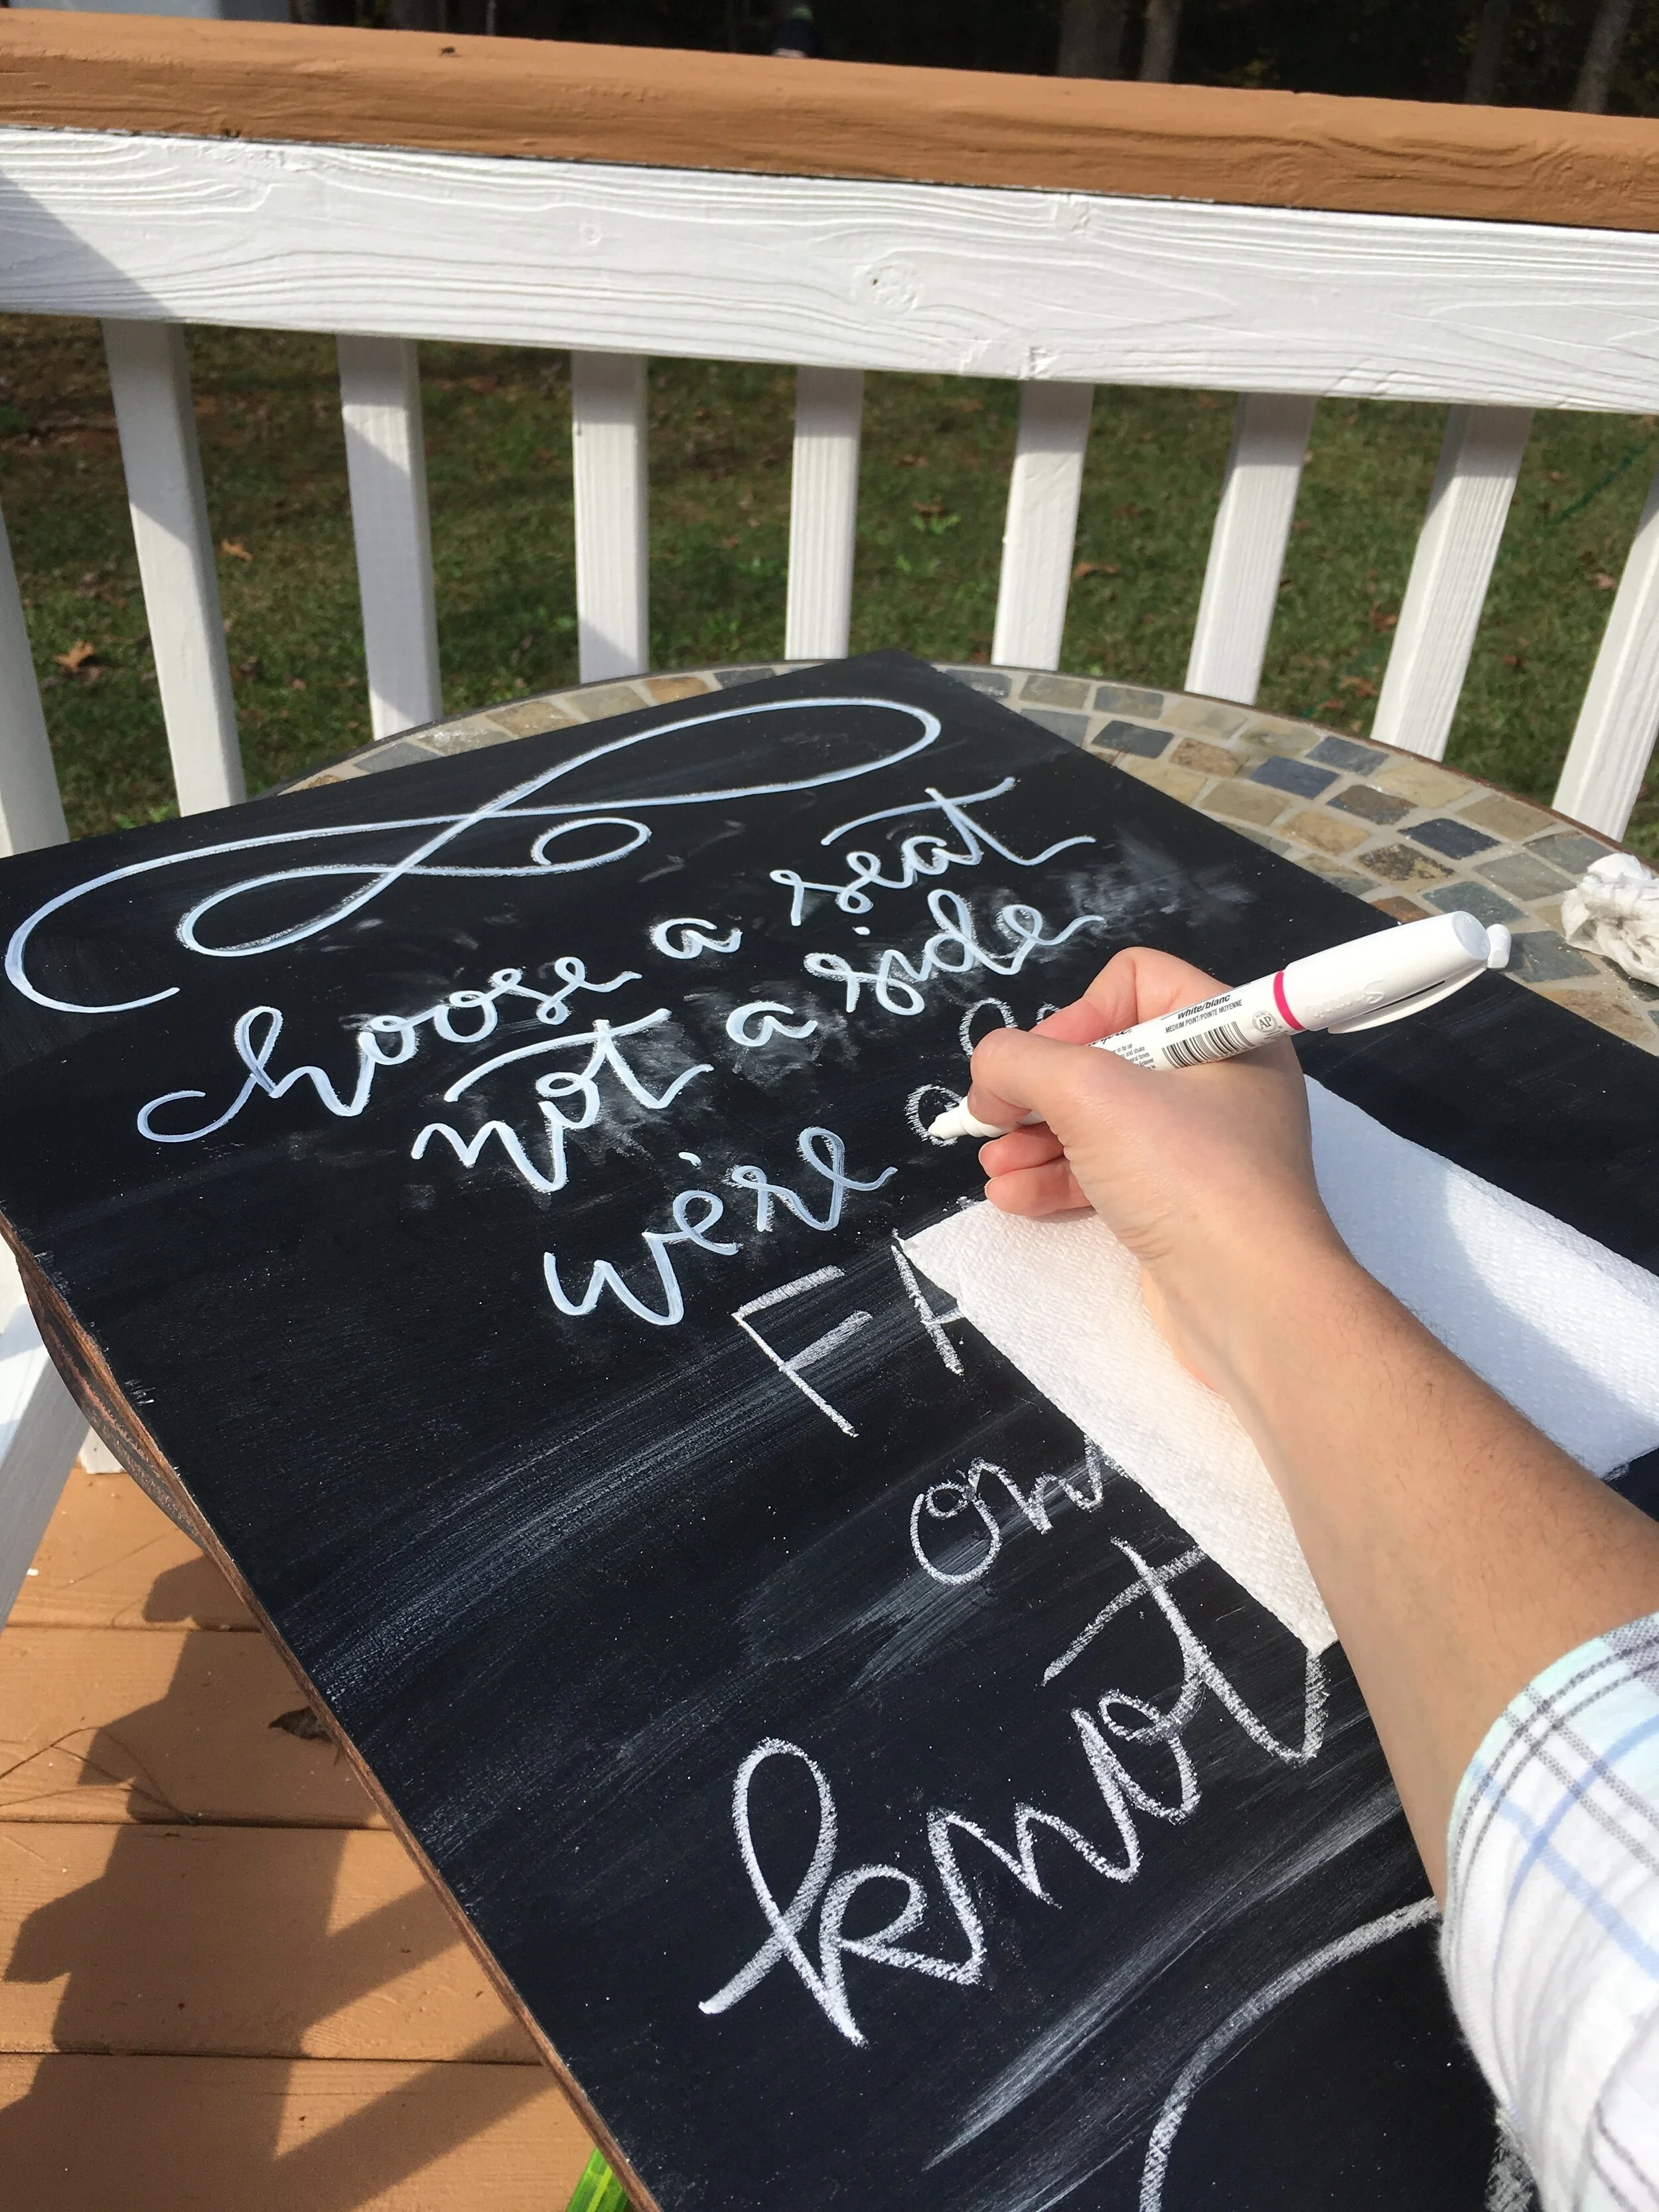
First off use sidewalk chalk as this will be easiest to apply, clean and reapply. I find it helpful to rest my hand on a piece of paper or paper towel so I can minimize the amount of chalk transfer. Carefully lift up the paper and move it around the board as needed, but don’t side it! If you need the design to last and you don’t want it to smudge, chalk markers are a better choice. Keep in mind that in the end, you may need to repaint over the chalk markers (see below on how to clean your chalkboard).
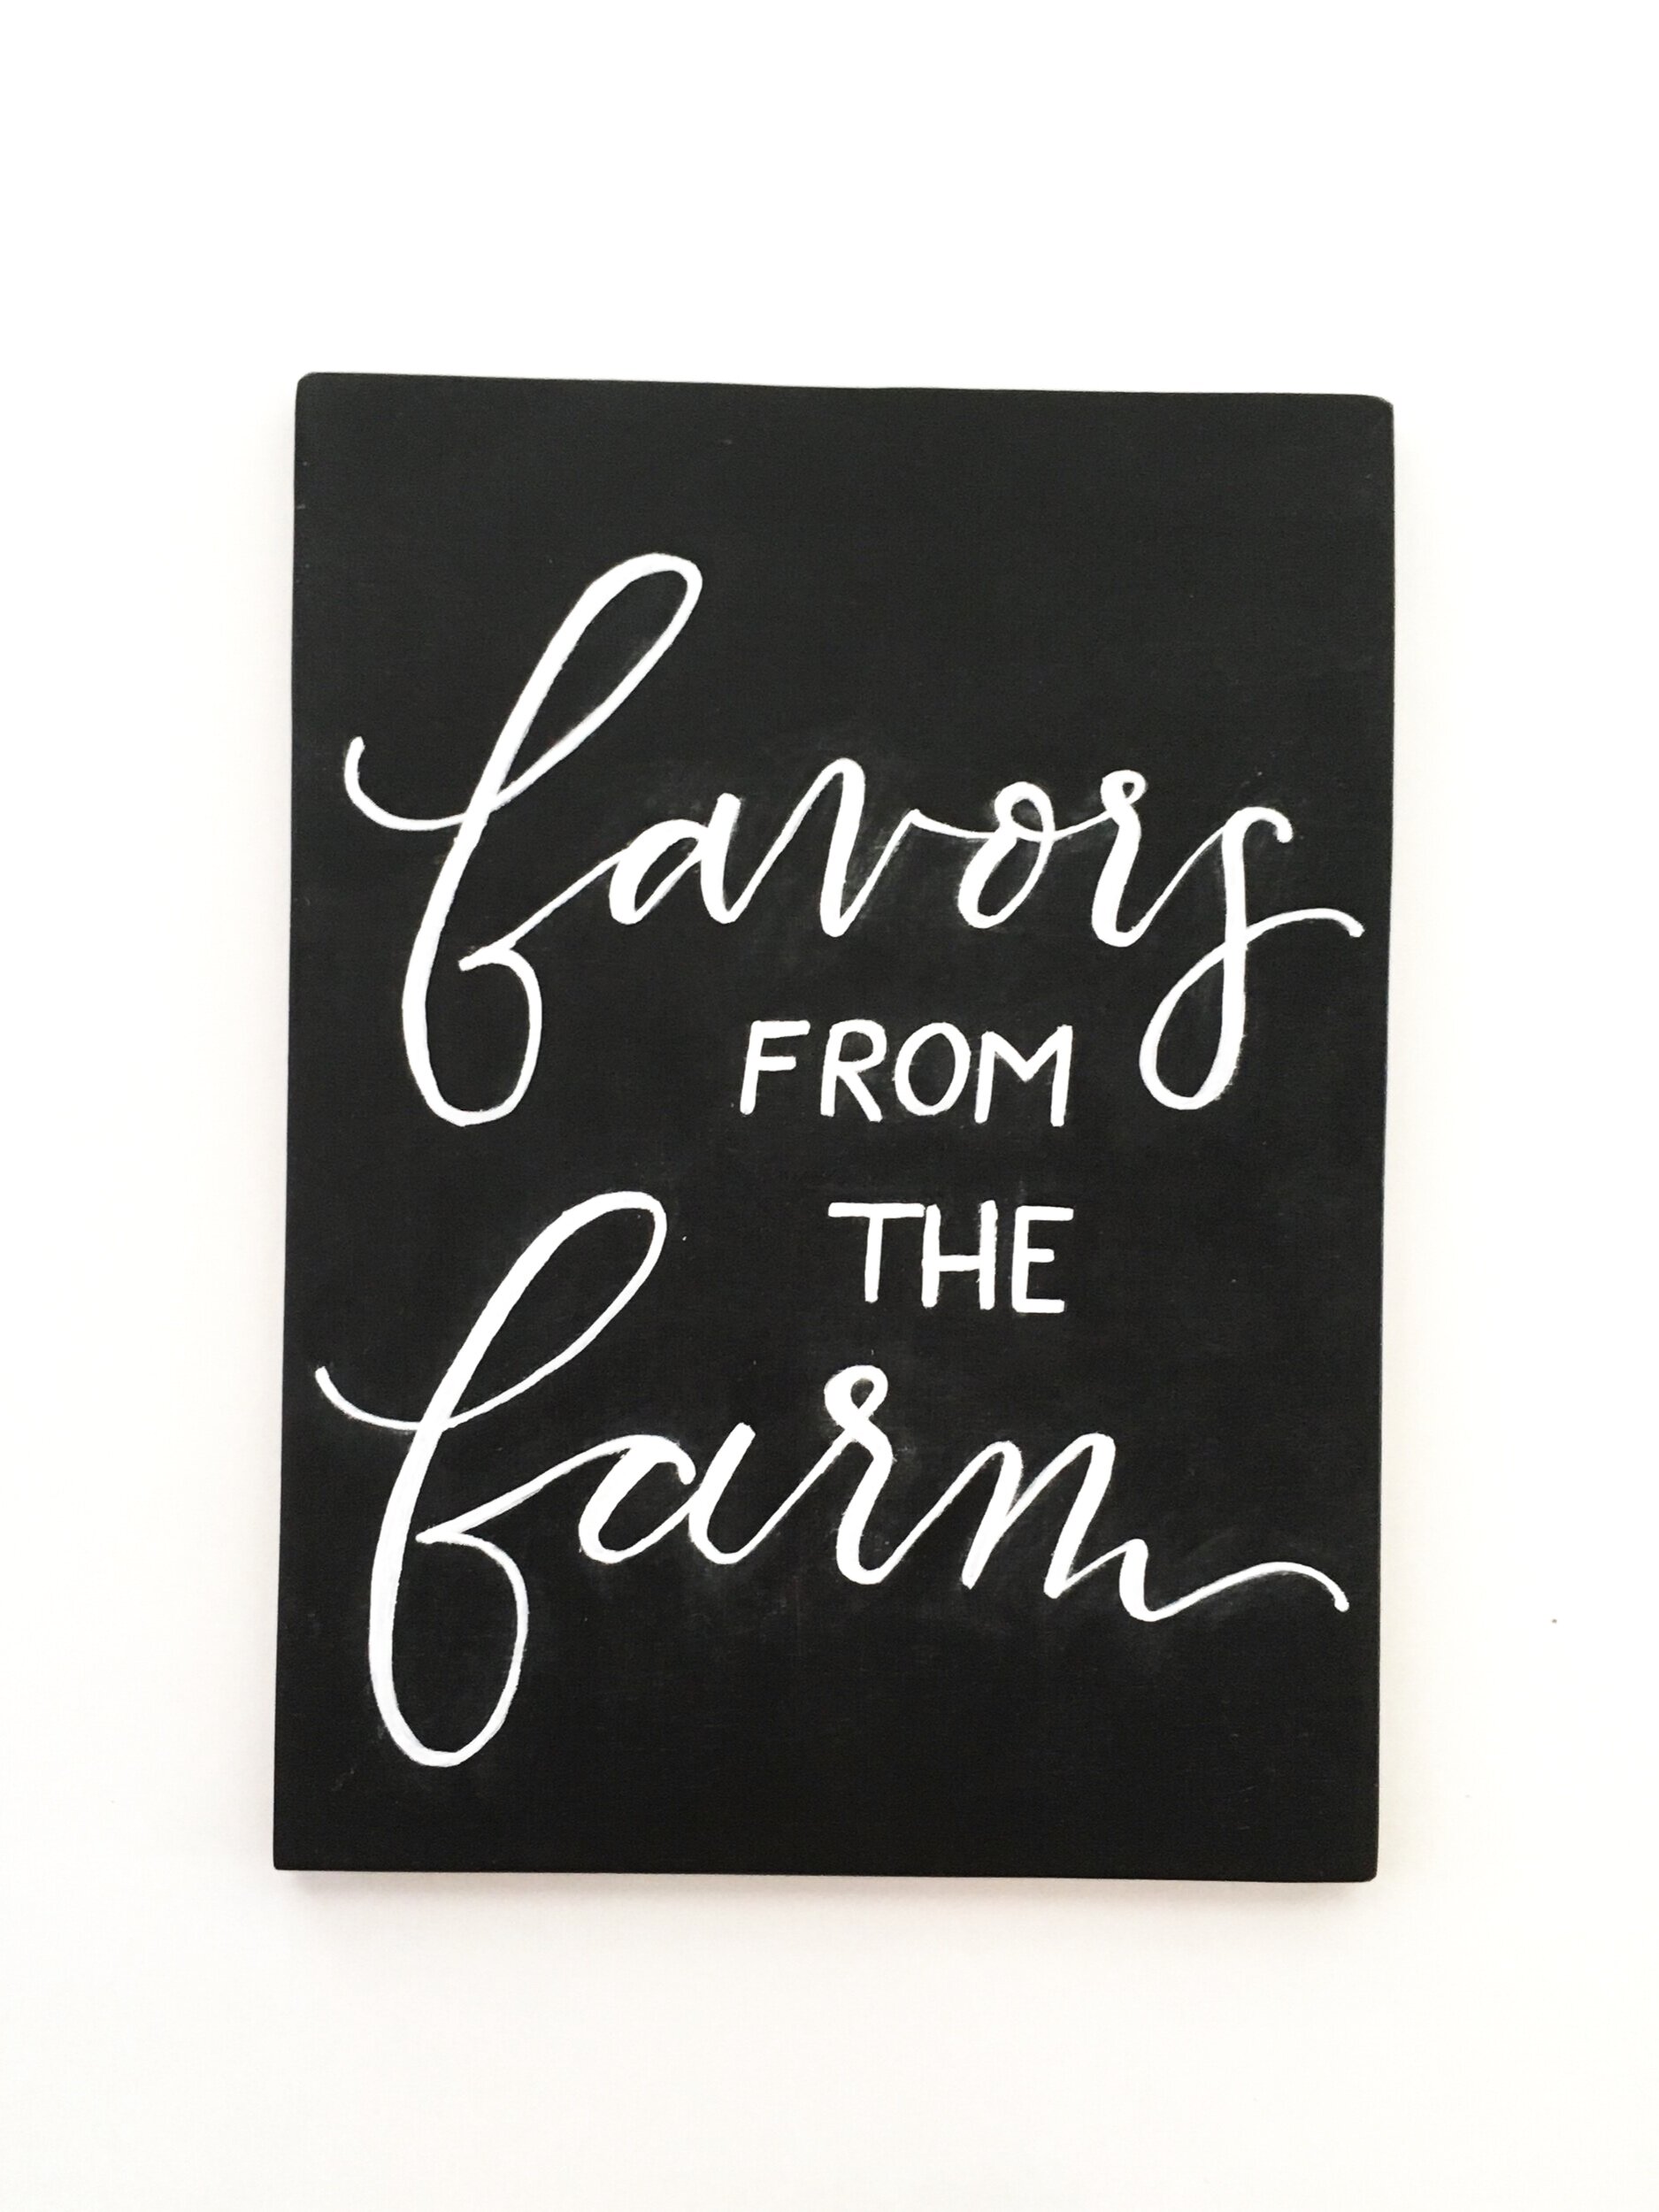
If there is a part of the design you want to be permanent, such as a border or calendar element, etc, you’ll want to use oil based sharpies. I sell these floral chalkboards and use a white oil based sharpie so the design doesn’t wipe off when the chalkboard is cleaned after each day’s use.
When I am creating a design for a chalkboard I start by sketching out the layout either with paper and pencil or with sidewalk chalk right on the board. Once I have a feel for placement, I’ll use the paper draft as a guide next to my chalkboard and apply the chalk marker. It’s easier for me to work with paper, but you can just dive in on the chalkboard if it feels right!
If you want to use the sidewalk chalk as a guide for you to trace with the chalk markers, you can BUT the less chalk dust on the surface, the better. Chalk dust will dry out your chalk markers, making your project take a whole lot longer to finish. Remember, chalk markers are not permanent and any mistake you make is fixable. (see note below about fixing ghosting)
[NOTE: In this picture I’m actually using an oil based paint pen because the client requested a chalkboard look, but with a permanent design. Avoid using permanent markers unless you want a truly permeant design.]

Chalkboard Uses
HOME DECOR IDEAS FOR CHALKBOARDS
You can use chalkboard paint on just about anything. I’ve used the spray paint chalkboard paint on glass jars and vases. I keep a chalkboard in my studio next to my white board and cork boards.
Chalkboards are great for notes, adding to your work command center, as a family message board or jotting down shopping items as you run out.
Dislike getting asked “what’s for dinner” a dozen times a day? Hang a chalkboard in the kitchen with the “Soup de Jour.” With a ruler and a few permanent lines, you can even use your chalkboard as a weekly meal planner or calendar.
Cleaning Tips
HOW TO CLEAN CHALKBOARDS
If you used regular ole fashioned sidewalk chalk, then a chalk eraser or a damp cloth is all you need. If you used chalk markers, they tend to have better staying power and need a little more effort to remove. If the chalk marker writing is fresh, a wet cloth will do a good job of removing most if not all of the marks. If the design has been sitting on the chalkboard for days, weeks or even months, you’ll need to use a more abrasive cleaner like Windex. This should lift all the removable marker from the surface.
HOW TO FIX GHOSTING
Porous surfaces such as wood absorb liquids (like inks and paints) better than non porous surfaces such as glass or metal. Sometimes you’ll notice a chalkboard made of a porous material absorbs some of the chalk maker and won’t come off. This is called ghosting. If a trace of the original chalk marker design is still visible even after using Windex, your chalkboard will likely need a new coat of chalkboard paint. This is really easy. Just follow the steps above. Don’t want to be bothered with repainting surfaces? Avoid letting chalk marker designs to stay on your chalkboards and instead clean after use. Or you could always stick to sidewalk chalk.

Make your brand stand out
Whatever it is, the way you tell your story online can make all the difference.

Vacation Keys
The perfect keepsake keychain to commemorate your perfect vacation spot.

Photo: Rose Trail Images

PSST! Pin this now to save for later!